Installation
Install the WebEDI Template through the template gallery. Meta Exchange opens automatically. Set Link as the action for the following entries:
Roles: Super User and Super User Lim
Default Company
Association Criterion: "Always true"
You have installed the WebEDI Template and configured the required Meta Exchange entries.
Quickstart with example case
Note: In the example scenario, the supplier and the buyer are the same company.
Log in with the webEDI: admin role.
Go to Administration → Accounts → Companies/Clients and select the company with ID 1.
Add supplier-specific tolerances.
Import sample package definitions via CSV Import.
Go to My Data Apps → Dummy import: Orders and import the order samples.
Switch to the webEDI supplier role to view orders.
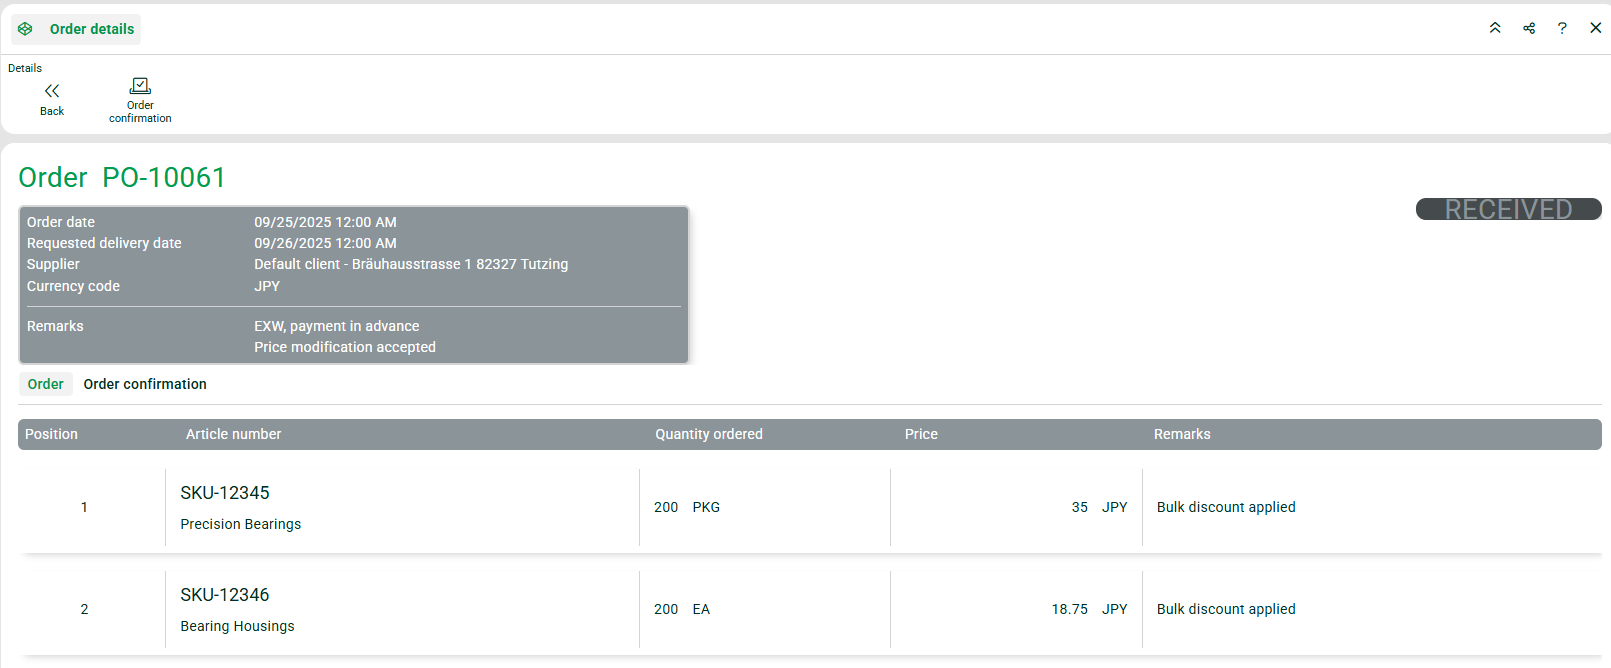
Create order confirmations. Use Quickfill to copy values from the order or adjust them manually. Values are validated with instant feedback. Save the data.
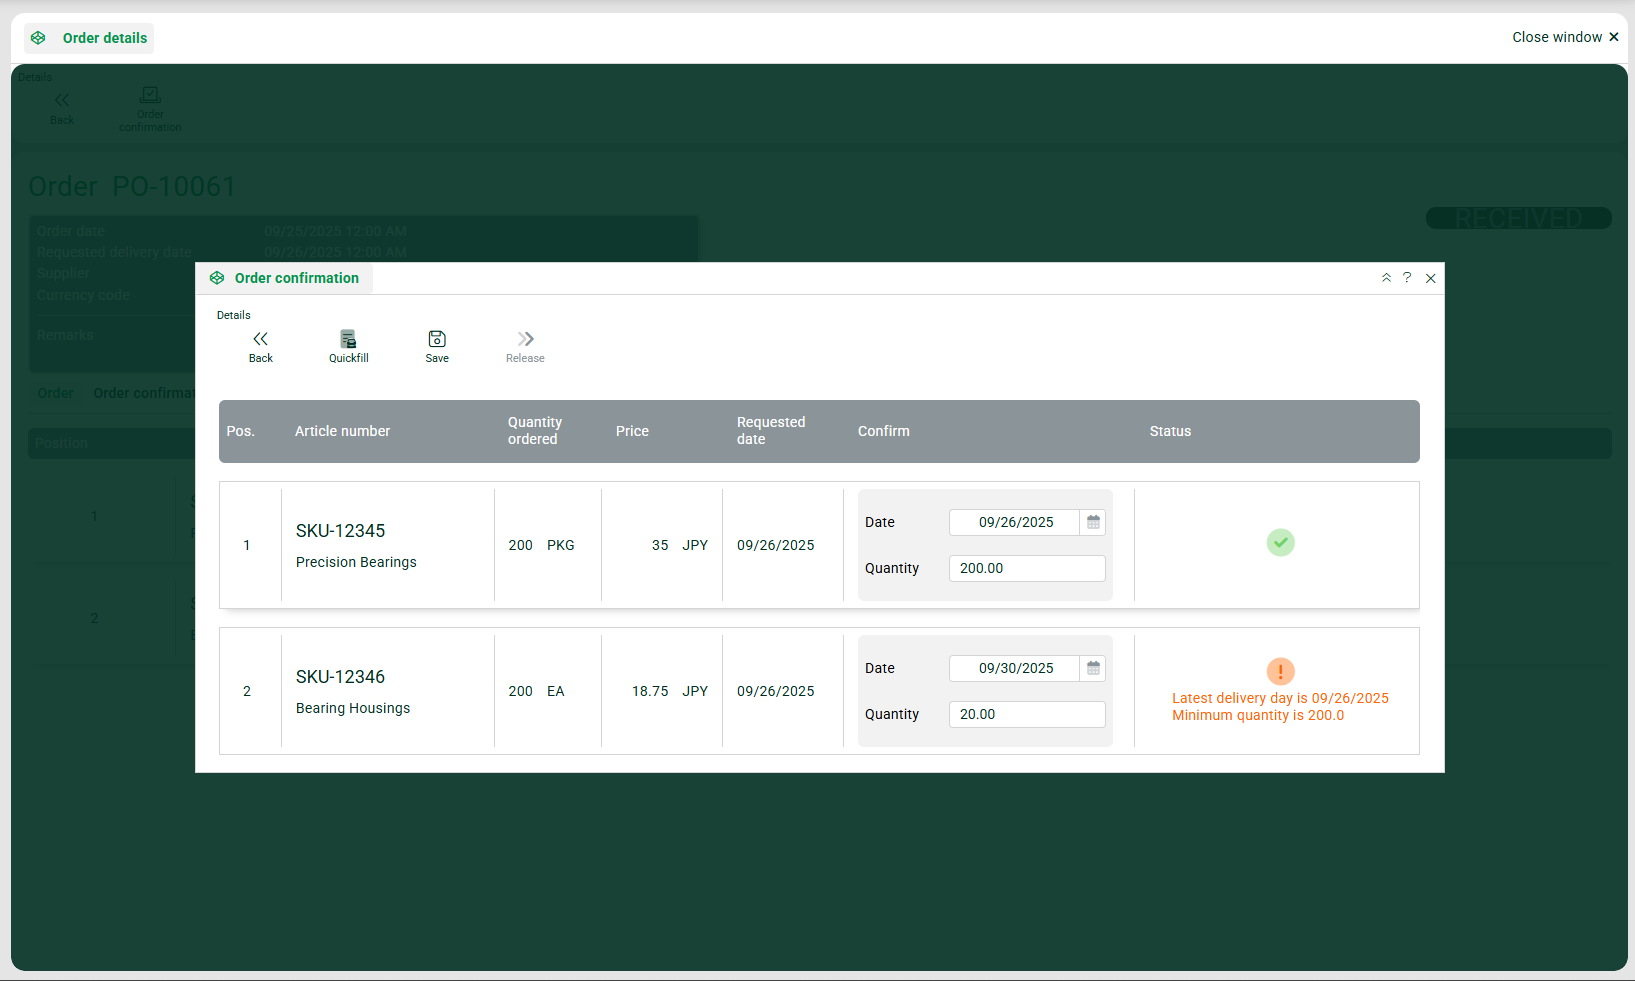
When all values are valid, release the order confirmation.
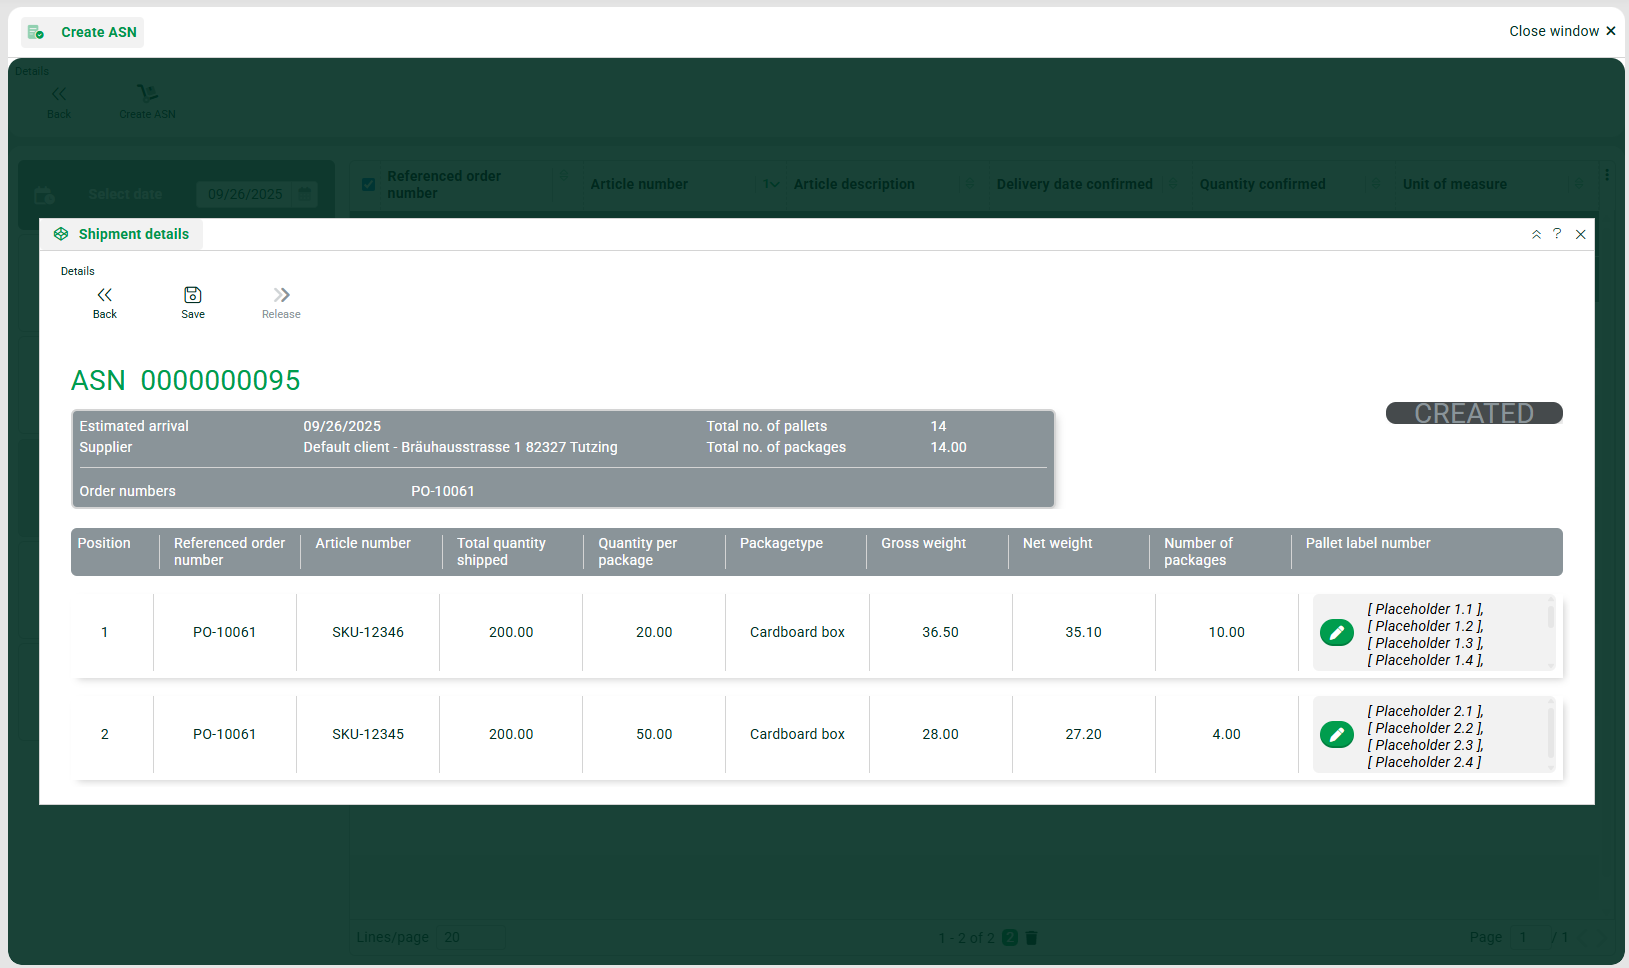
Go to Create ASN, select the desired delivery date from the calendar, and choose the confirmed order positions.
Review the calculated number of required pallet label numbers per position, which is based on the package definitions and confirmed quantities, and adjust if needed. Save and release the ASN to create the shipment.
Add the shipment tracking number and the actual ship date, then save.
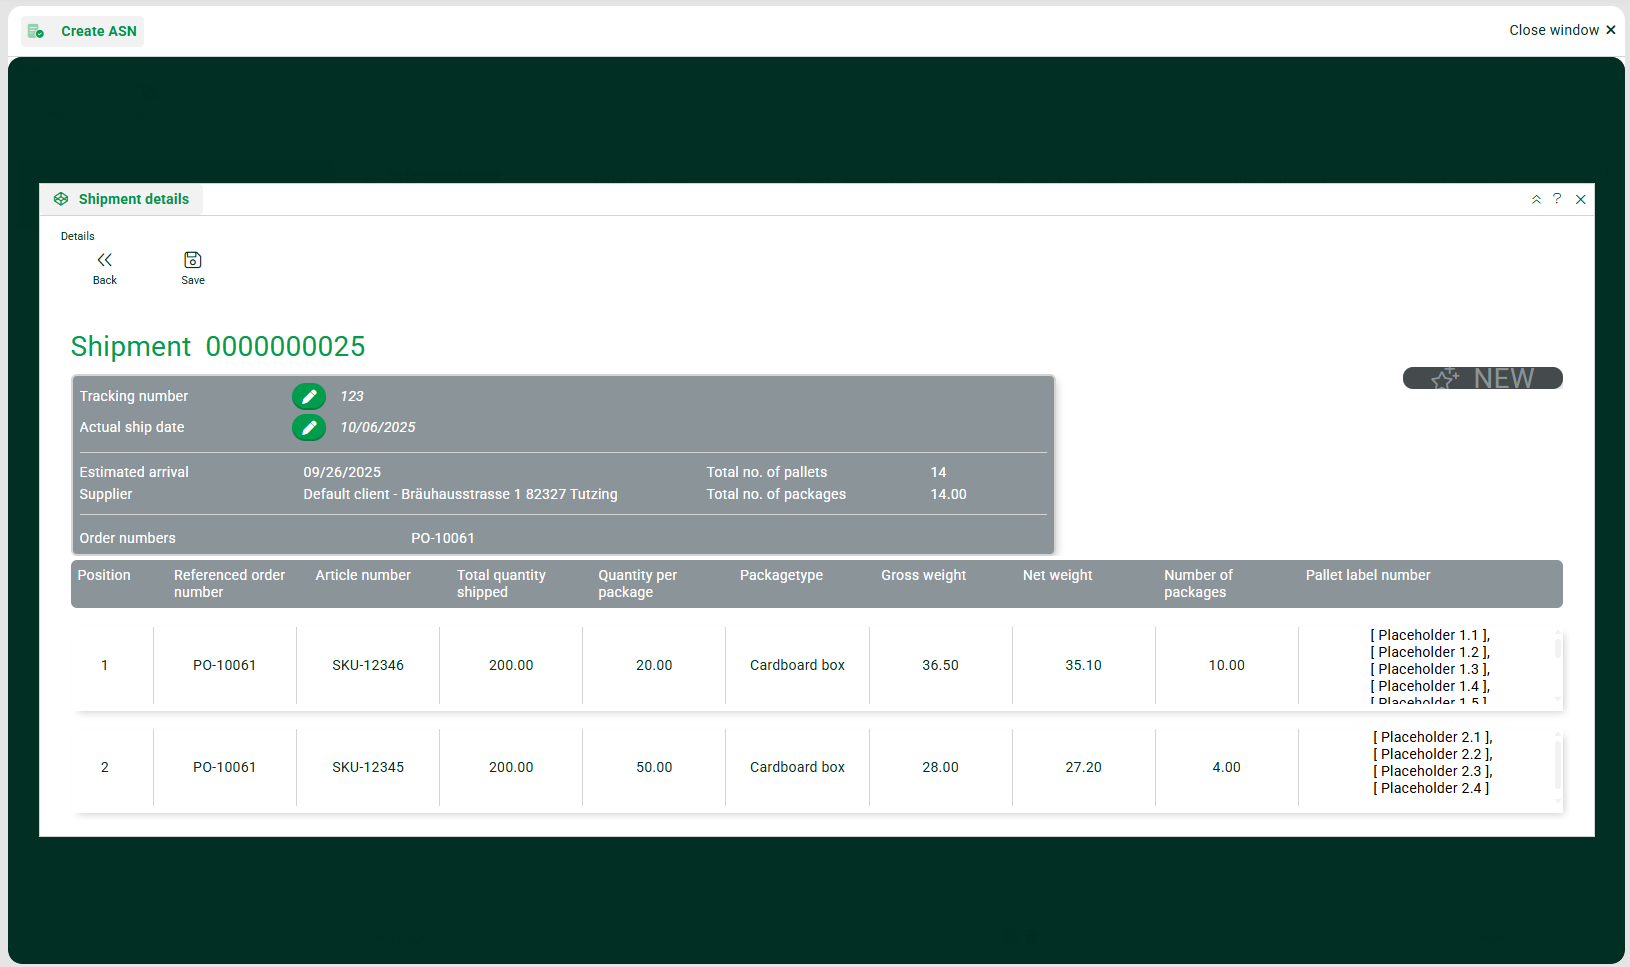
You have completed the end-to-end example case, from order import through order confirmation, ASN creation, and shipment recording.