The profile creator is a wizard that allows you to quickly set up new profiles with the most basic settings and then finish the profile in manual editing mode. It can be opened at the bottom of the profile overview.

Define source structure

Either upload an example file for which you want a fitting source structure created or skip the step to later create the source structure manually. We use the following simple XML file:
<?xml version="1.0" encoding="UTF-8"?>
<note>
  <to>Tove</to>
  <from>Jani</from>
  <heading>Reminder</heading>
  <body>Don't forget me this weekend!</body>
</note>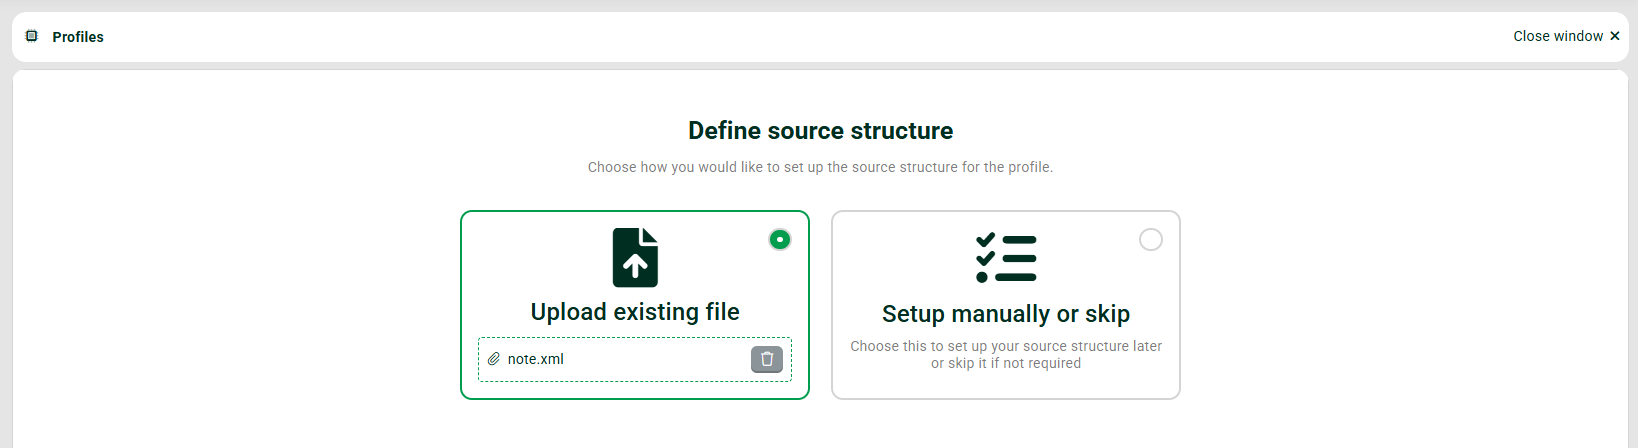
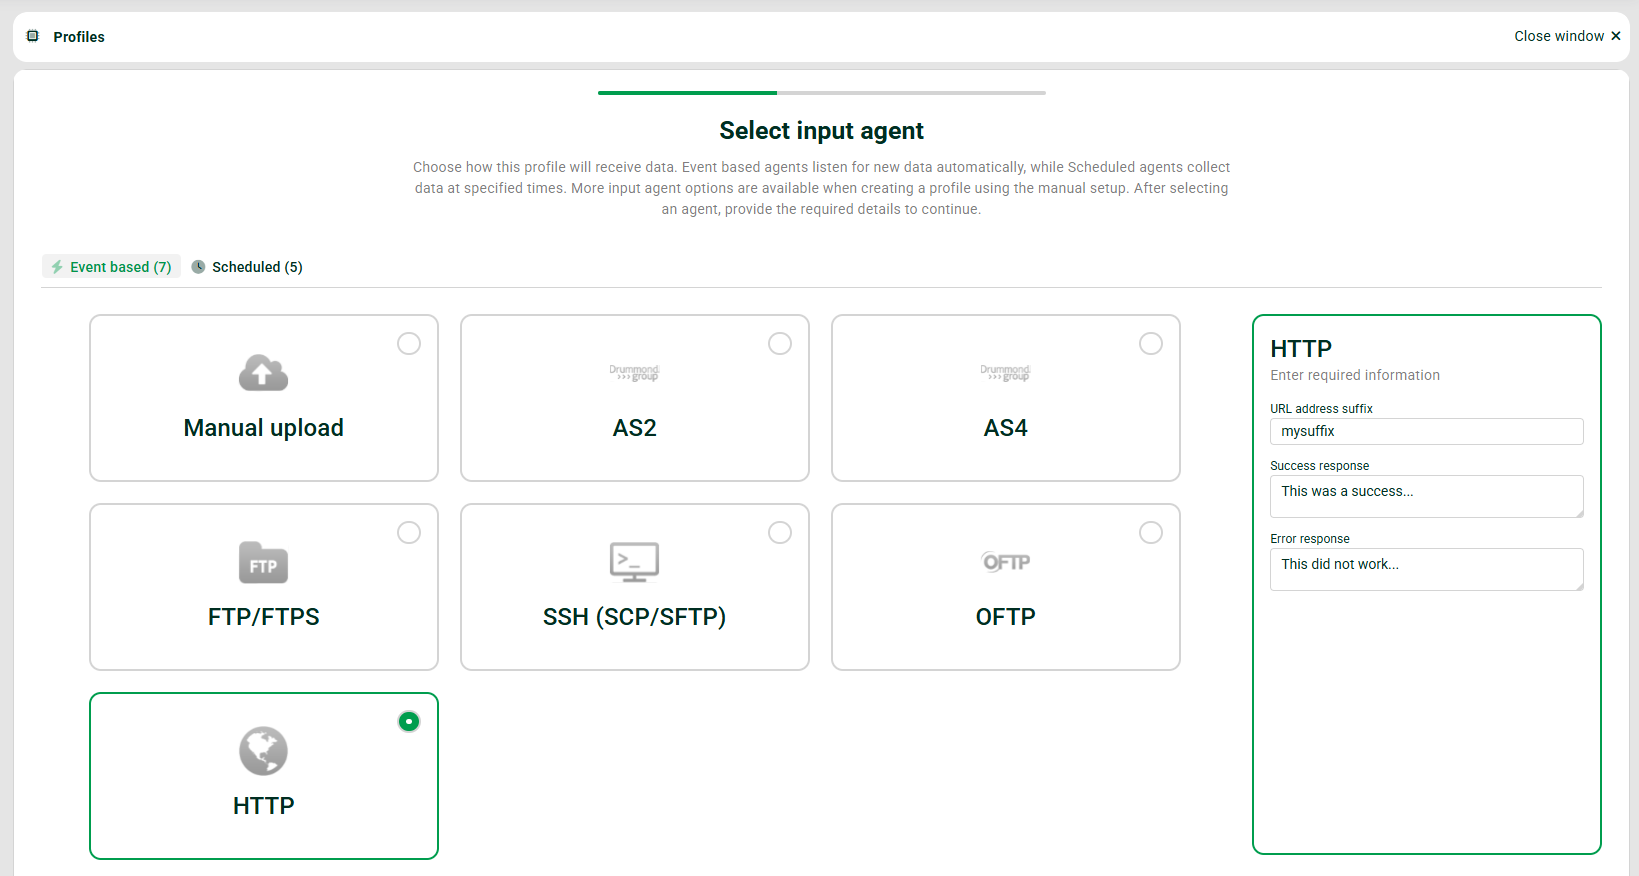
Select Input Agent
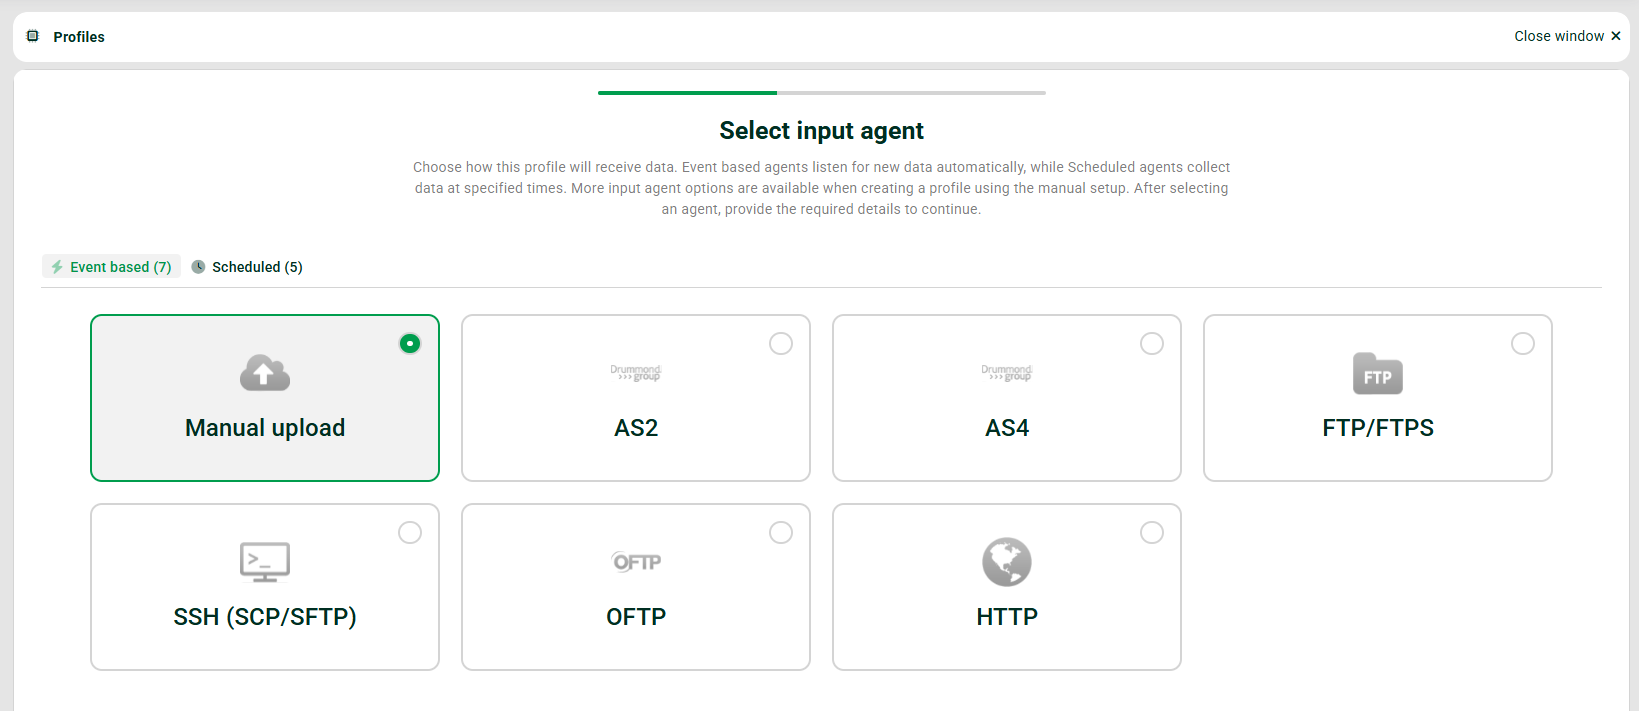
The next step is to choose an Input Agent (event-based or scheduled). You will have the most essential inoput agents available and will be able to set the most essential properties.
Define target structure
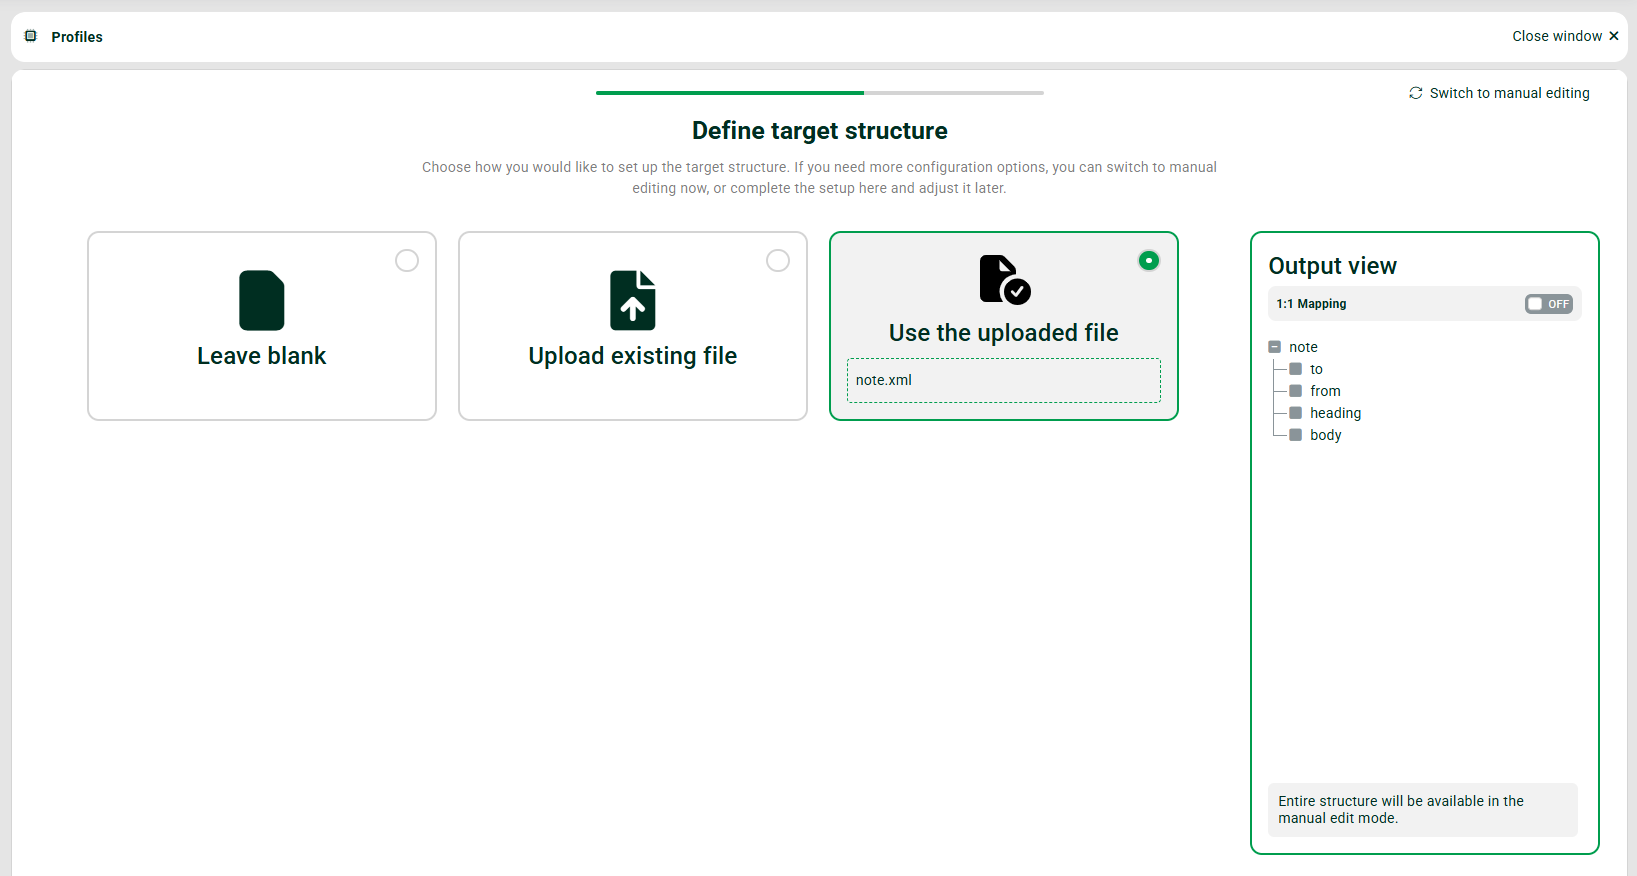
You can either leave the target structure blank to finish it later or switch right to manual editing (see top right). Alternatively, you can upload another sample file (like you did for the source structure) or simply choose the same sample file you used for the source structure and create a 1:1 mapping (use the button in the output view).
Select Response
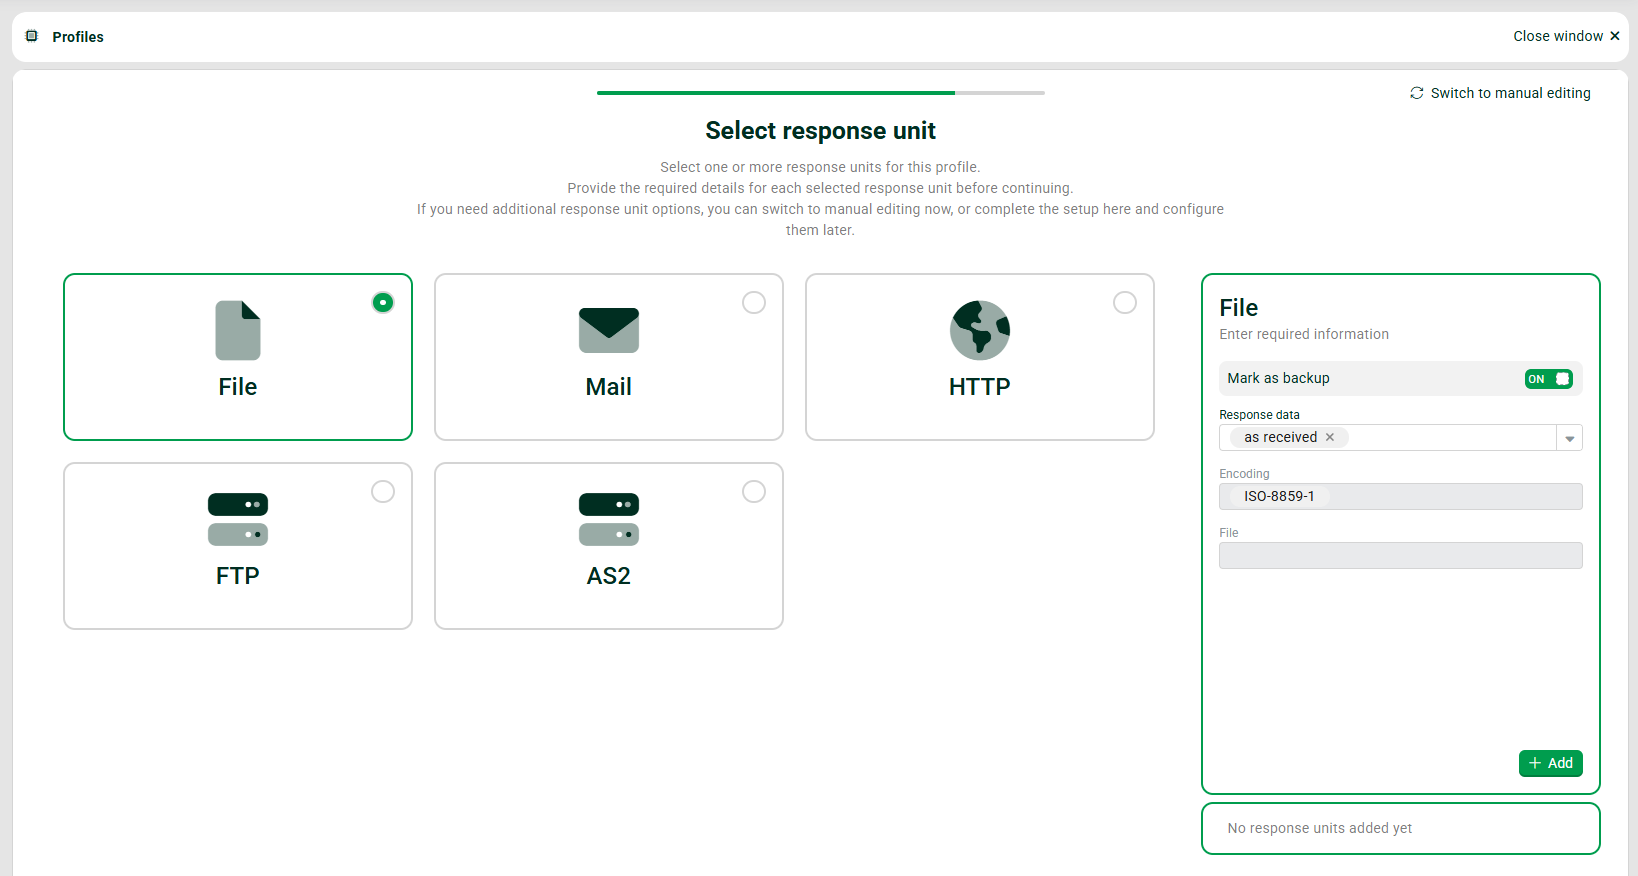
Finally, we need to specify a Response. You can also skip this step or switch to manual editing. If you select a Response, you will be able to set the most essential properties again. Don’t forget to click “Add”. In this case we defined a Response of type “File” that creates a backup file of the file received by the profile.
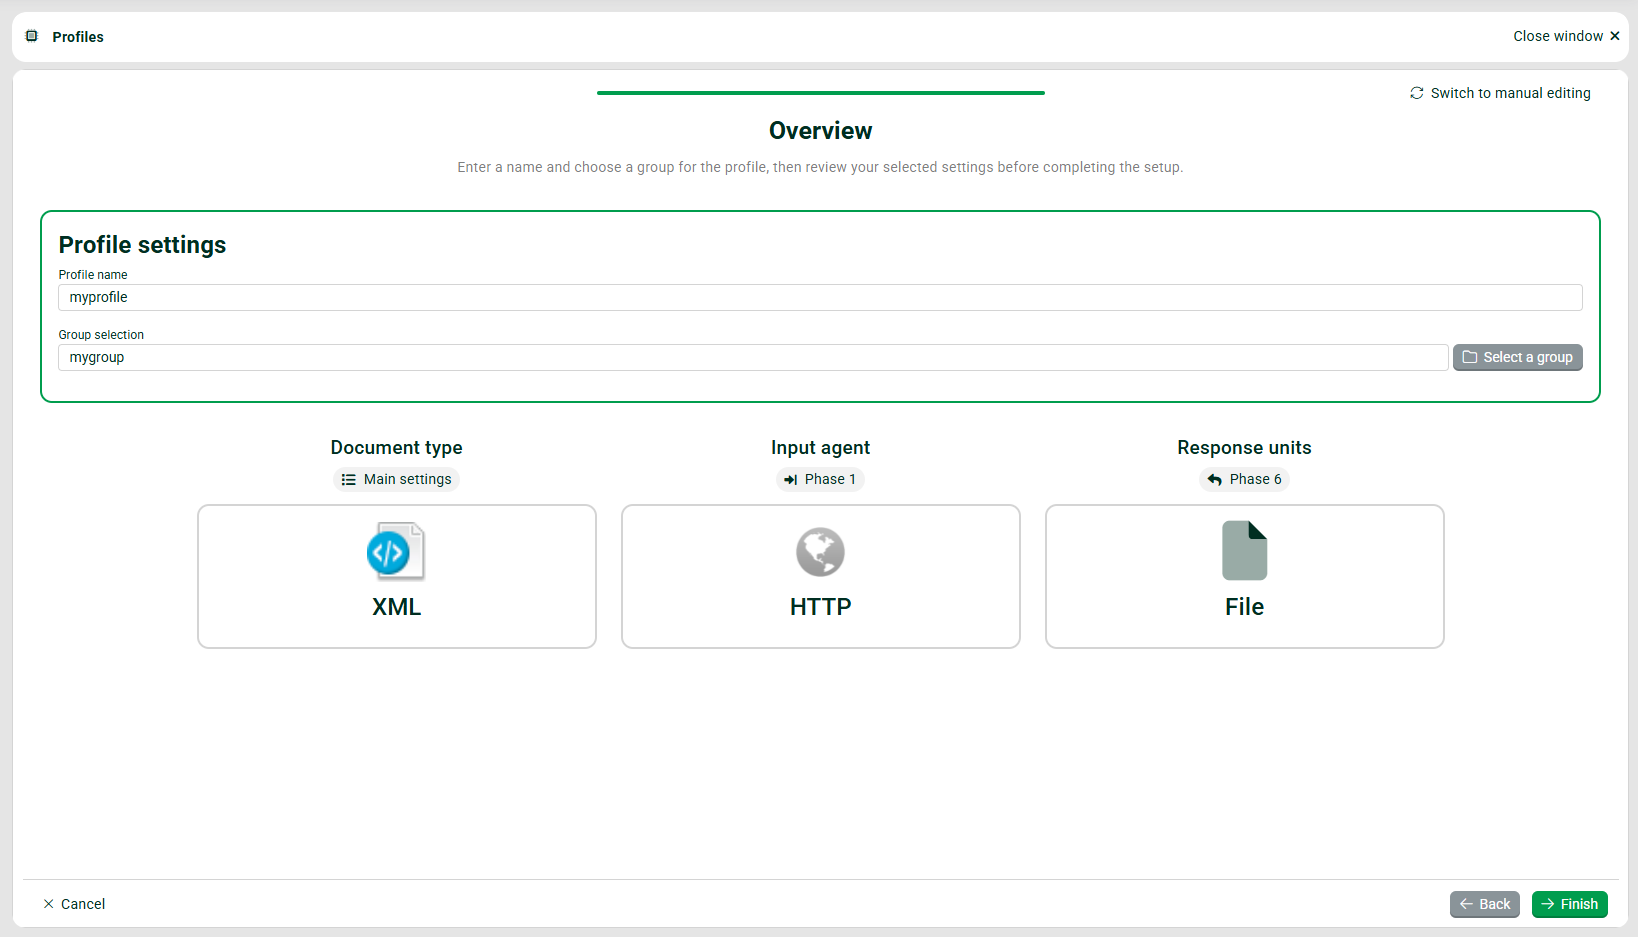
Overview
As the last step, you specify the name of the profile and select/create a group in which the profile is to be placed. Then finish the setup. You will now switch to manual mode.
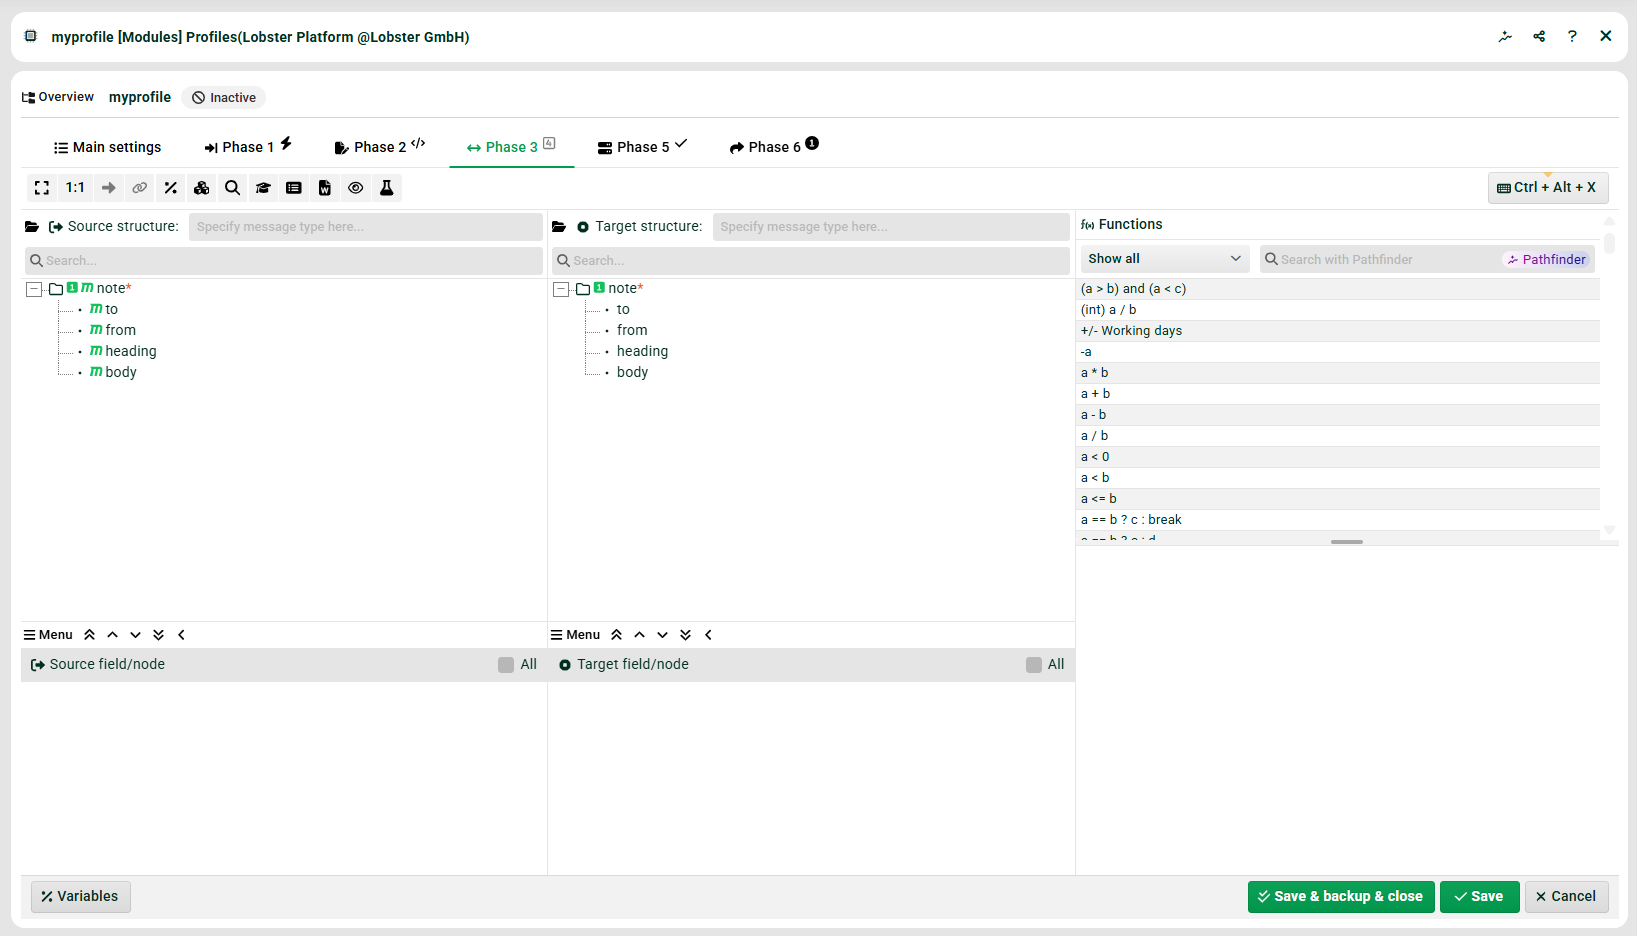
Manual mode
You can now manually finish the profile you created. Once you have done that, you have to set the profile active (“Main settings”) and save it!