This page guides you through the complete migration process to Lobster Cloud: from the prerequisites in your existing on-premise environment, through profile transfer, to go-live with your customers and partners.
Overview
Phase | Responsibility | Description |
|---|---|---|
1. On-Premise Preparation | Customer (with optional Lobster support) | Software upgrade of the on-premise environment to a compatible version |
2. Version Synchronization | Customer | Keeping the on-premise environment and the cloud environment on the same release level throughout the entire migration phase |
3. Cloud Environment Setup | Lobster and Customer | Provisioning of the new cloud environment, establishing the Transport Manager connection |
4. Profile and Configuration Transfer | Customer (using Transport Manager and Meta Exchange) | Migration of processes, profiles, and configurations |
5. Configuration and Testing | Customer | DNS, SSL, connection testing, notifying customers and partners |
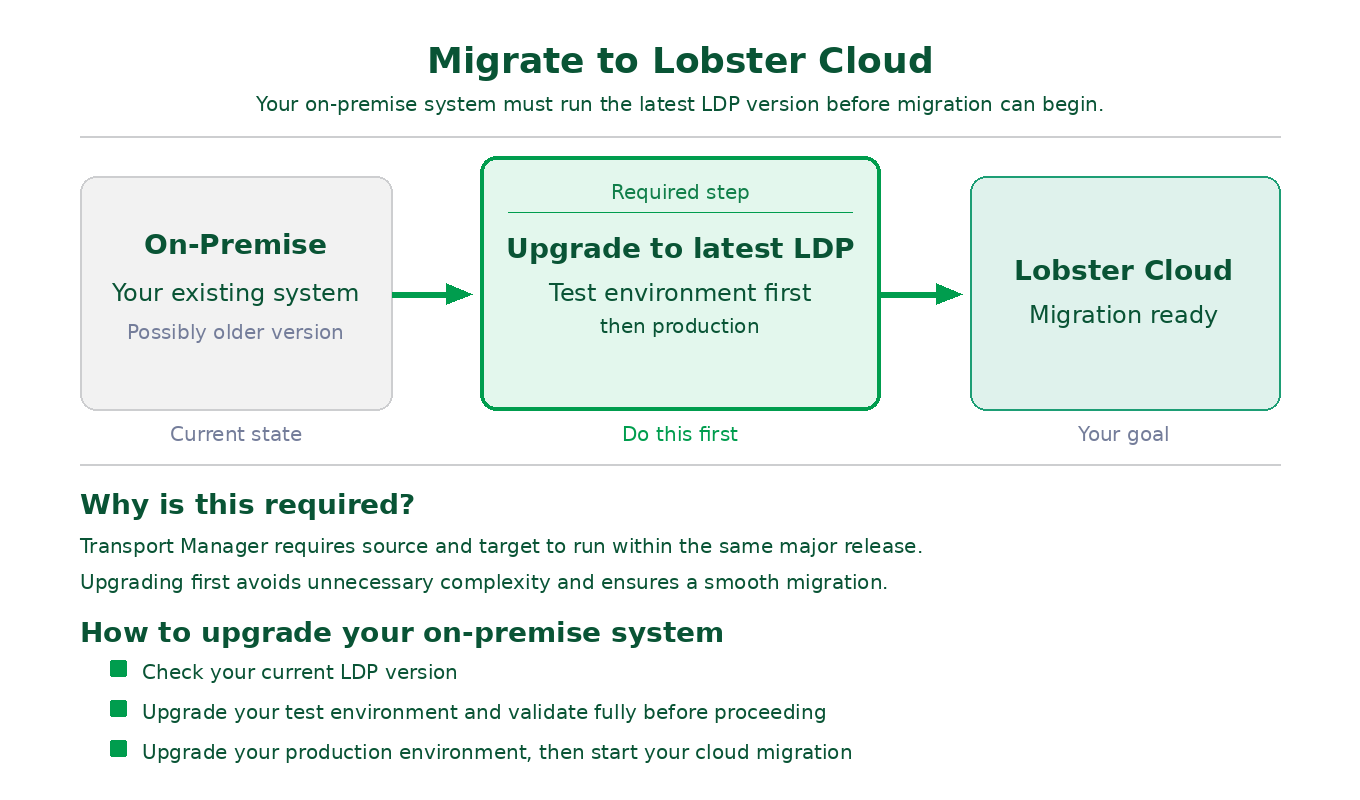
Phase 1: On-Premise Preparation
Why is this so important?
The Transport Manager requires that source and target systems run within the same major release. Migrating from an outdated version is technically possible, but makes the process unnecessarily complex. The clear recommendation is therefore: bring your on-premise environment up to the current version before starting the migration.
Lobster supports you: If you need assistance upgrading your on-premise environment, please reach out to your Lobster contact.
Version Requirements
Your System | Requirement |
|---|---|
Lobster data and/or Lobster pro | Upgrade to the latest Lobster Data Platform (LDP) version required. |
Full details on the upgrade path and known specifics can be found under One-click migration from older systems.
Upgrade Strategy: Test Before Production
Always upgrade your test environment first and validate it fully before updating your production system. All required steps and important considerations are described in detail in the Before starting an upgrade.
Define Your Migration Strategy
Decide early whether you want to migrate all profiles at once or gradually transition customers and partners to the new system in parallel operation. A phased migration reduces risk and allows for a controlled go-live per customer or partner.
Special Case: Custom Database Tables and folders
The Transport Manager transfers Lobster configuration objects only, such as profiles, partners, and configuration files. If your databases contain tables that are not an official part of the Lobster software (e.g. custom lookup tables or master data), you will need to find your own approach for migrating that data, for example through specifically developed profiles. This also applies to your own folders
Raise this point early with your Lobster contact so the effort can be factored into the migration planning.
Phase 2: Version Synchronization During Migration
Throughout the entire migration phase, your on-premise environment and the new cloud environment must remain on the same release level. Lobster Cloud follows a fixed, predictable maintenance schedule. All details on scheduling and notifications can be found under Maintenance schedule and Cloud update policy.
Recommendation: Complete the active migration phase (profile transfer) as promptly as possible to minimize the overhead of version synchronization.
Phase 3: Cloud Environment Setup
Step | Description |
|---|---|
New cloud environment is provisioned | Lobster sets up your new Lobster Cloud environment as a clean installation with the latest software version. Lobster also assists with adopting existing configurations (e.g. SAP, SSH, AS2, additional on-premise databases) and with setting up your email server. VPN connections are established if required. |
Establish a secure connection between your existing system and the new cloud environment. Connection options: public IP, DNS, or VPN. | |
Configure firewall rules | Ensure that port 8020 is open between your existing system and the new cloud environment. If using VPN: confirm the tunnel is active and routing is configured. |
A full description of the provisioned infrastructure and the division of responsibilities can be found under Standard architecture and Migration overview.
Phase 4: Profile and Configuration Transfer
This is the core of the migration process. Lobster provides two built-in tools available directly within the platform.
Important: Direct database imports, database dumps, and file system transfers are not supported. Profile-based migration via Transport Manager and Meta Exchange is the only supported approach.
Transport Manager
The central tool for transferring profiles, partners, configuration files, and other objects between two Lobster instances. It enables a phased migration in live parallel operation: you can transition customers and partners to the new system one by one without interrupting ongoing operations. All information on setup and usage can be found under Transport Manager.
Meta Exchange
Complements the Transport Manager for complex configurations, particularly for Orchestration systems (_pro). Meta Exchange automatically resolves all dependencies during export and packages them into a .xar export file. All details on export, import, and transfer can be found under Meta Exchange.
Phase 5: Configuration and Testing
Step | Description |
|---|---|
Configure custom DNS(if required) | A-record pointing to the public IP of the new cloud system. For HA systems: CNAME pointing to the original Lobster DNS name. |
Configure SSL certificates (if required) | For custom DNS names: configure your own certificates or set up Certbot for automatic Let's Encrypt certificates. For AS2: use a self-signed or dedicated certificate. |
Test the new environment | Thoroughly test all migrated profiles, connections, and integrations before switching production traffic. |
Notify customers and partners | All customers and partners communicating via IP address rather than DNS must be informed of the new address and update their firewall rules accordingly. |
All information on network configuration can be found under Network and connectivity and its sub-pages.
DNS Migration Workflow
If you are redirecting an existing domain from your old system to the new cloud environment, follow these steps in the order listed:
Step | Description |
|---|---|
1 | Complete the profile migration and verify that all profiles are working correctly on the new cloud system. |
2 | Install your SSL certificate on the new cloud system (or configure Certbot). |
3 | Update the DNS record at your domain provider: A-record with the new public IP, or CNAME for HA. |
4 | Wait for DNS propagation (typically a few minutes to 24 hours, depending on TTL settings). |
5 | Verify that traffic is reaching the new cloud system. |
6 | Notify any customers and partners who reference your system by IP address rather than DNS name, so they can update their firewall rules. |
Complete your migration and test thoroughly before updating your DNS records. This minimizes the risk of downtime during the cutover.
Lobster Support
Topic | Contact |
|---|---|
On-premise environment upgrade | Your Lobster Sales contact, Account Manager, Technical Success Manager (TSM), or Customer Success |
Migration of processes, profiles, channels, portal, etc. | |
Custom database tables and individual scenarios | Your Lobster Sales contact, Account Manager, Technical Success Manager (TSM), or Customer Success |
Technical questions about the cloud environment |
Your Migration Checklist
Phase 1: On-Premise Preparation
Current software version of the on-premise environment verified
Version compatibility with the target cloud version confirmed
If required: upgrade path planned according to One-click migration from older systems
Pre-Upgrade Checklist fully completed
Test environment updated to target version and fully validated
Production environment updated to target version and fully validated
Migration strategy defined (full migration or phased by customer/partner)
Identify custom folder structures (not part of the software's default setup)
Identify custom database tables (not part of the software's default setup)
Phase 3: Cloud Environment Setup
Desired private network range for the VPC defined (must not overlap with on-premise network)
VPN requirements clarified (if needed)
Port 8020 opened between on-premise and cloud environment
Transport Manager connection established and tested
Phase 4: Profile and Configuration Transfer
Migration timeline defined (refer to Maintenance schedule)
Profiles, partners, and configurations transferred via Transport Manager
Orchestration configurations transferred via Meta Exchange (if applicable)
Custom data migration profiles developed and tested (if non-standard database tables are present)
If required, create your own database schema and tables (SQL tool)
If required, create your own folder structure and transfer files (Admin Console)
Phase 5: Configuration and Testing
All migrated profiles tested and validated in the cloud environment
Connections and communication protocols verified (SFTP, OFTP, AS2, databases, etc.)
DNS configured (A-record to new public IP, or CNAME for HA)
SSL certificate installed (if custom DNS names are used)
Firewall rules in the cloud configured for all required IP addresses
List of all customers and partners communicating via IP address (rather than DNS) compiled
All affected customers and partners notified of address changes
For each customer/partner: test run in the cloud environment completed and validated
Further Documentation
Topic | Link |
|---|---|
Migration Overview | |
Migration from Older Systems | |
Before Starting an Update | |
Transport Manager | |
Meta Exchange | |
Maintenance Schedule | |
Cloud Update Policy | |
Standard Architecture | |
Network and Connectivity | |
VPN Connections | |
DNS Configuration | |
SSL/TLS Certificates |